
智能客服
常见问题
公众号
二维码
二维码

主要介绍如何使用地图SDK完成地图展示,包括:地图展示、通过添加view展示地图、常用地图容器、SupportMapFragment使用、多实例展示地图、地图类型及显示层级。
百度地图SDK为开发者提供了便捷的使用百度地图能力的接口,通过以下几步操作,即可在您的应用中使用百度地图:
1.在<application>中加入如下代码配置开发密钥(AK),或者通过SDKInitializer.setApiKey("ak")动态设置AK
<application><meta-dataandroid:name="com.baidu.lbsapi.API_KEY"android:value="开发者 key" /></application>
若您还不曾申请开发密钥,点此申请
2. 在<application/>外部添加如下权限声明:
<!-- 访问网络,进行地图相关业务数据请求,包括地图数据,路线规划,POI检索等 --><uses-permission android:name="android.permission.INTERNET" /><!-- 获取网络状态,根据网络状态切换进行数据请求网络转换 --><uses-permission android:name="android.permission.ACCESS_NETWORK_STATE" /><!-- 读取外置存储。如果开发者使用了so动态加载功能并且把so文件放在了外置存储区域,则需要申请该权限,否则不需要 --><uses-permission android:name="android.permission.READ_EXTERNAL_STORAGE" /><!-- 写外置存储。如果开发者使用了离线地图,并且数据写在外置存储区域,则需要申请该权限 --><uses-permission android:name="android.permission.WRITE_EXTERNAL_STORAGE" />
注:自Android6.0起部分权限的使用需要开发者在代码中动态申请。
MapView是View的一个子类,用于在Android View中放置地图。MapView的使用方法与Android提供的其他View一样。
<com.baidu.mapapi.map.MapViewandroid:id="@+id/bmapView"android:layout_width="match_parent"android:layout_height="match_parent"android:clickable="true" />
注意:在SDK各功能组件使用之前都需要调用“SDKInitializer.initialize(getApplicationContext())”,因此建议在应用创建时初始化SDK引用的Context为全局变量。
新建一个自定义的Application,在其onCreate方法中完成SDK的初始化。示例代码如下:
public class DemoApplication extends Application {@Overridepublic void onCreate() {super.onCreate();//在使用SDK各组件之前初始化context信息,传入ApplicationContextSDKInitializer.initialize(this);//自4.3.0起,百度地图SDK所有接口均支持百度坐标和国测局坐标,用此方法设置您使用的坐标类型.//包括BD09LL和GCJ02两种坐标,默认是BD09LL坐标。SDKInitializer.setCoordType(CoordType.BD09LL);}}
在AndroidManifest.xml文件中声明该Application

注意:在项目中使用地图的时候要特别注意合理地管理地图生命周期,这非常重要。
以下示例代码简述对地图生命周期的管理:
public class MainActivity extends Activity {private MapView mMapView = null;@Overrideprotected void onCreate(Bundle savedInstanceState) {super.onCreate(savedInstanceState);setContentView(R.layout.activity_main);//获取地图控件引用mMapView = (MapView) findViewById(R.id.bmapView);}@Overrideprotected void onResume() {super.onResume();//在activity执行onResume时执行mMapView. onResume (),实现地图生命周期管理mMapView.onResume();}@Overrideprotected void onPause() {super.onPause();//在activity执行onPause时执行mMapView. onPause (),实现地图生命周期管理mMapView.onPause();}@Overrideprotected void onDestroy() {super.onDestroy();//在activity执行onDestroy时执行mMapView.onDestroy(),实现地图生命周期管理mMapView.onDestroy();}}
百度地图SDK支持不用通过layout文件中添加MapView控件,直接在Java代码中添加MapView的方式来展示地图,示例如下:
MapView mapView = new MapView(this);
setContentView(mapView);
另外,在Java代码中添加MapView的方式支持通过BaiduMapOptions对象根据需求构造包含特定地图状态类型和控件显示状态的MapView对象。示例如下:
BaiduMapOptions options = new BaiduMapOptions();
//设置地图模式为卫星地图options.mapType(BaiduMap.MAP_TYPE_SATELLITE);
MapView mapView = new MapView(this, options);
setContentView(mapView);
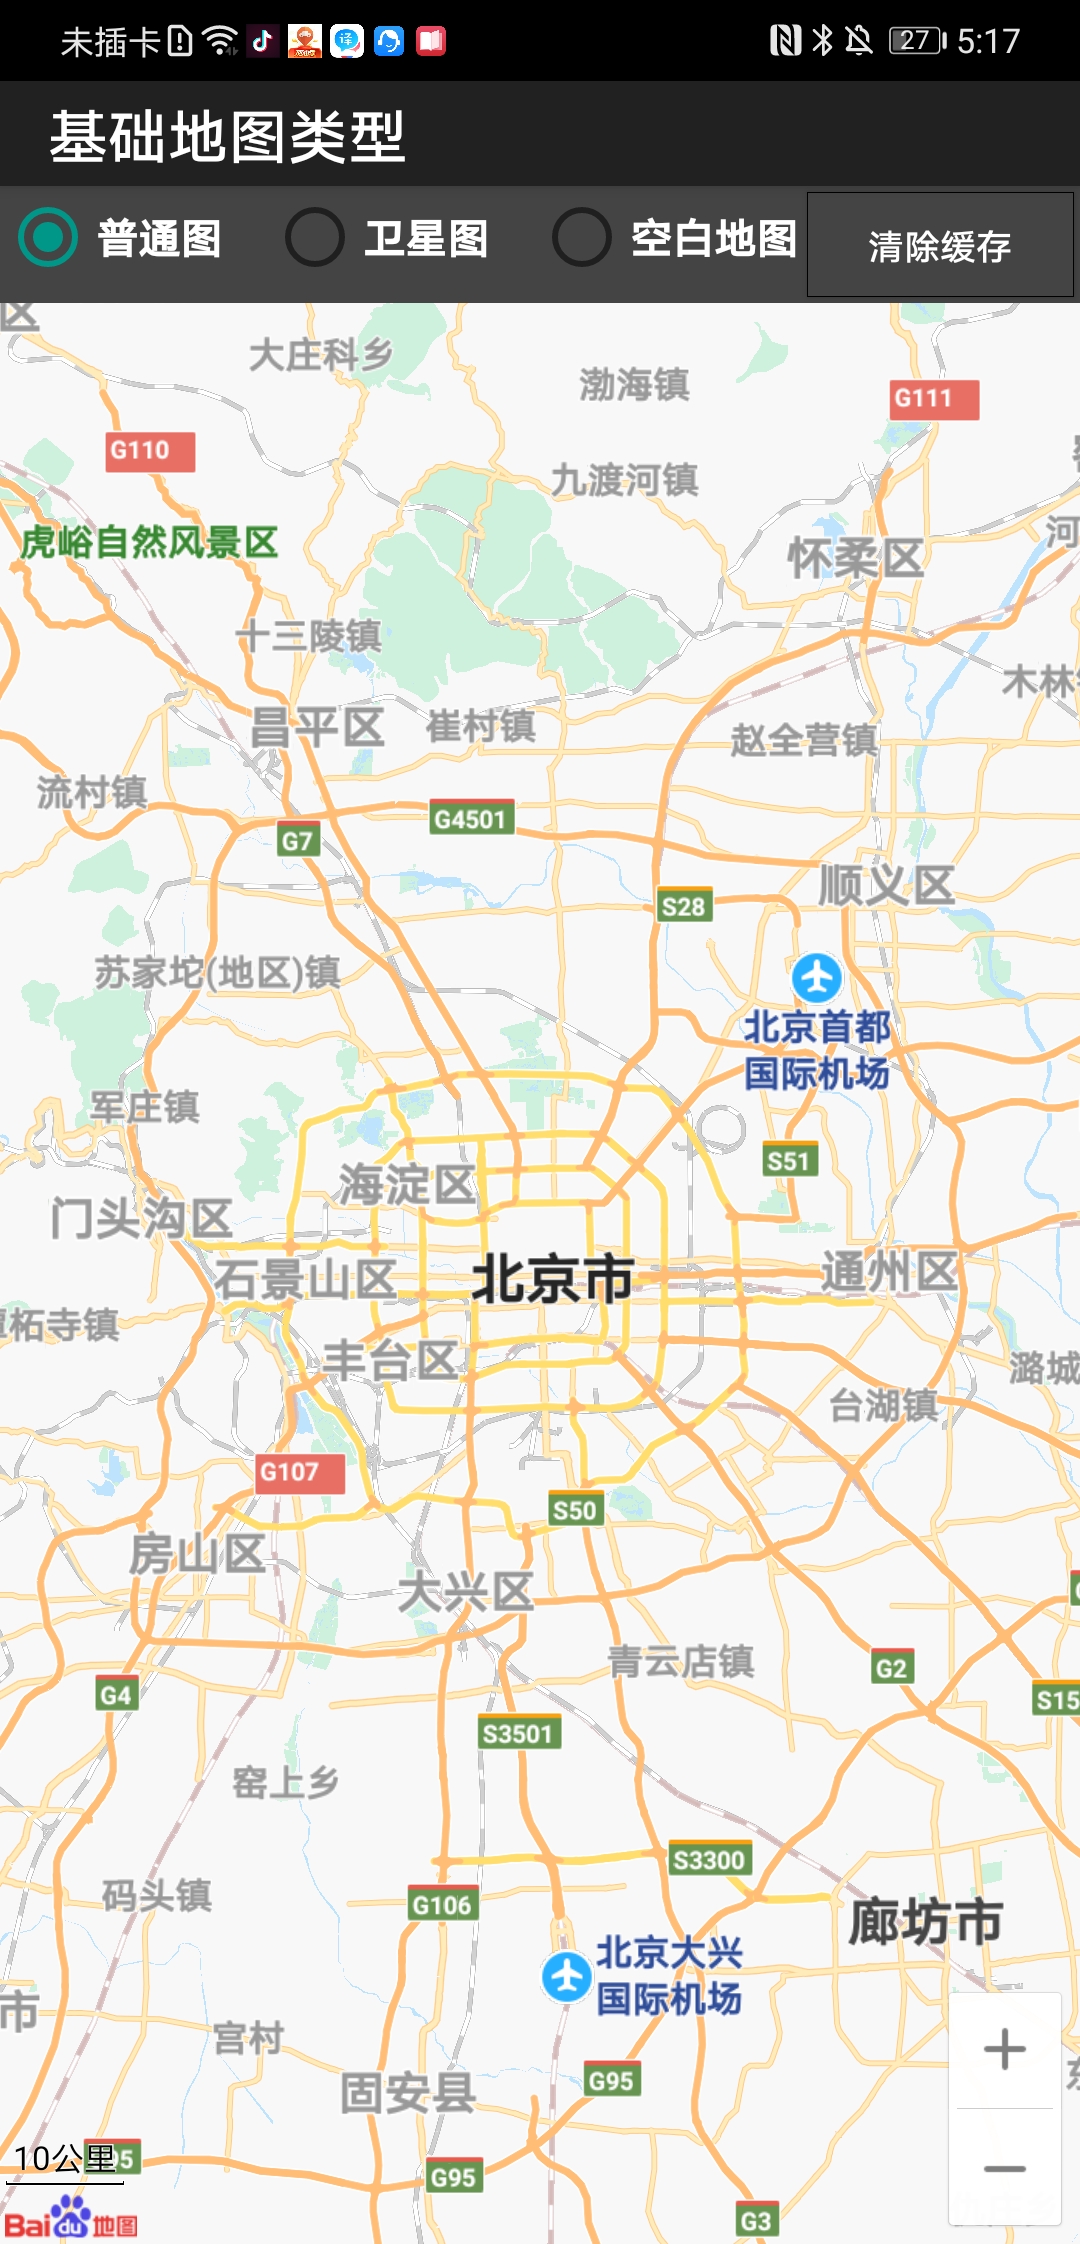
设置空白地图背景色
BaiduMap mBaiduMap = mMapView.getMap();// 设置空白地图mBaiduMap.setMapType(BaiduMap.MAP_TYPE_NONE);// 设置地图背景色mBaiduMap.setMapBackgroundColor(Color.argb(255, 255, 0, 0));
BaiduMapOptions类支持设置的状态如下:
| 状态 | 含义 |
|---|---|
| mapStatus | 地图状态 |
| compassEnable | 是否开启指南针,默认开启 |
| mapType | 地图模式,默认为普通地图 |
| rotateGesturesEnabled | 是否允许地图旋转手势,默认允许 |
| scrollGesturesEnabled | 是否允许拖拽手势,默认允许 |
| overlookingGesturesEnabled | 是否允许俯视图手势,默认允许 |
| zoomControlsEnabled | 是否显示缩放按钮控件,默认允许 |
| zoomControlsPosition | 设置缩放控件位置 |
| zoomGesturesEnabled | 是否允许缩放手势,默认允许 |
| scaleControlEnabled | 是否显示比例尺控件,默认显示 |
| scaleControlPosition | 设置比例尺控件位置 |
| logoPosition | 设置Logo位置 |
百度地图SDK支持22级的地图显示,如下为地图类型和图层支持层级说明
| 地图类型或图层 | 显示层级 |
|---|---|
| 2D地图 | 4-21 |
| 3D地图 | 19-21 |
| 卫星图 | 4-20 |
| 路况交通图 | 11-21 |
| 百度城市热力图 | 11-21 |
| 室内图 | 17-22 |
下表为显示层级与比例尺的对应关系
| 显示层级 | 比例尺/米 |
|---|---|
| 4 | 1000000 |
| 5 | 500000 |
| 6 | 200000 |
| 7 | 100000 |
| 8 | 50000 |
| 9 | 25000 |
| 10 | 20000 |
| 11 | 10000 |
| 12 | 5000 |
| 13 | 2000 |
| 14 | 1000 |
| 15 | 500 |
| 16 | 200 |
| 17 | 100 |
| 18 | 50 |
| 19 | 20 |
| 20 | 10 |
| 21 | 5 |
可以通过如下代码设置地图的缩放级别:
MapStatus.Builder builder = new MapStatus.Builder();builder.zoom(18.0f);mBaiduMap.setMapStatus(MapStatusUpdateFactory.newMapStatus(builder.build()));
地图SDK底层运用两种GLSurfaceView和TextureView两种OpenGL ES组件构建地图。下面简要介绍。
此处示例代码简要介绍SupportMapFragment使用。
@Overrideprotected void onCreate(@Nullable Bundle savedInstanceState) {super.onCreate(savedInstanceState);setContentView(R.layout.activity_fragment);manager = getSupportFragmentManager();//获取到SupportMapFragment实例mSupportMapFragment = SupportMapFragment.newInstance(mapOptions);//将fragment添加至Activitymanager.beginTransaction().add(R.id.map_container, mapFragment).commit();}
另外,您也可以使用replace的方法替换已有的fragment。
manager.beginTransaction().replace(R.id.map_container, mapFragment).commit();
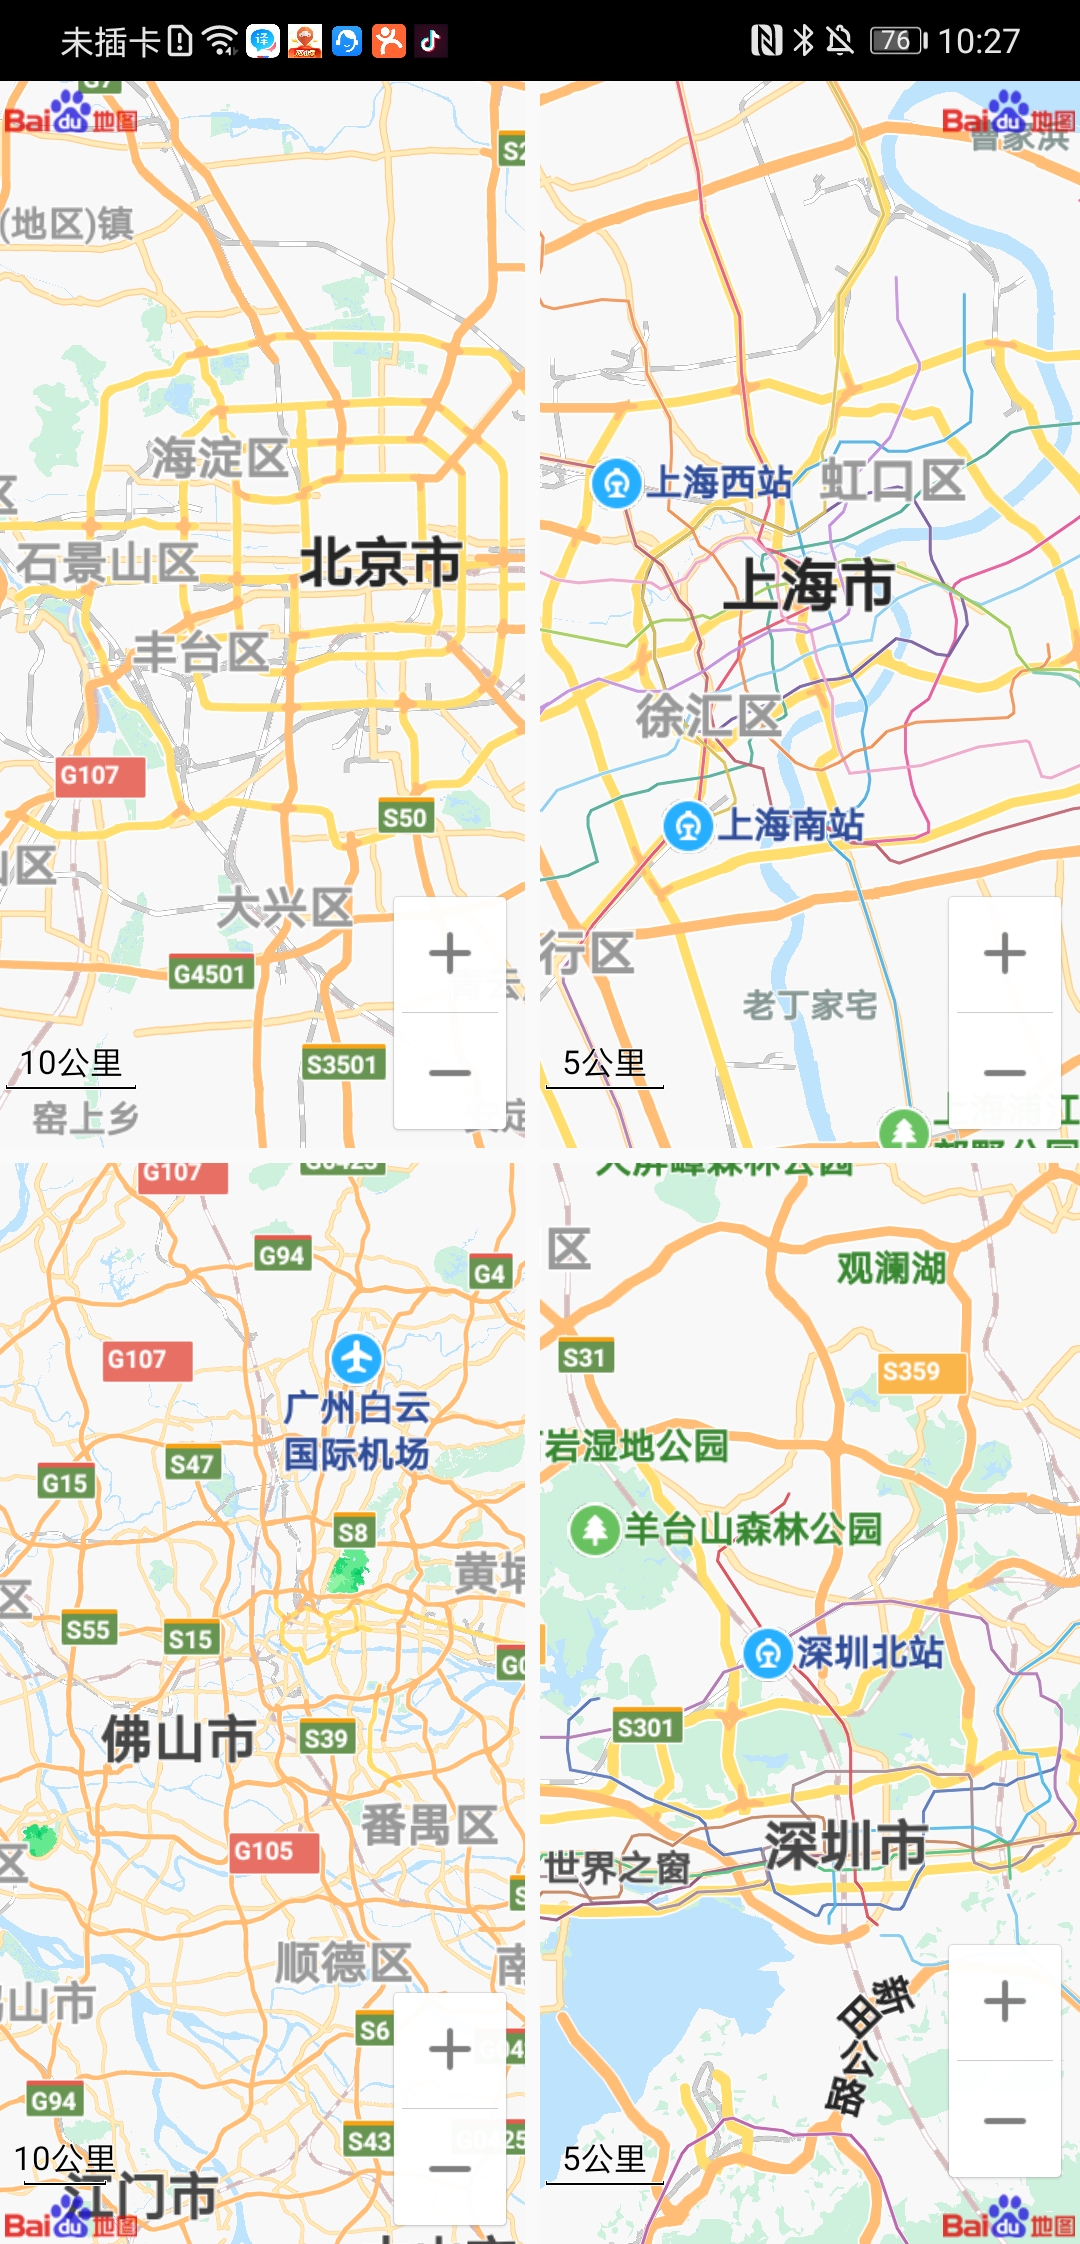
开发者可以在一个页面中建立多个地图对象,并且针对这些对象分别操作且不会产生相互干扰。 示例代码:在布局文件中添加多个SupportMapFragment
<fragmentandroid:id="@+id/map1"android:layout_width="match_parent"android:layout_height="0dp"android:layout_margin="5dp"android:layout_weight="1"class="com.baidu.mapapi.map.SupportMapFragment" /><fragmentandroid:id="@+id/map2"android:layout_width="match_parent"android:layout_height="0dp"android:layout_margin="5dp"android:layout_weight="1"class="com.baidu.mapapi.map.SupportMapFragment" />
在Activity中管理地图容器
@Overrideprotected void onCreate(Bundle savedInstanceState) {super.onCreate(savedInstanceState);setContentView(R.layout.activity_multi_map_demo);LatLng GEO_BEIJING = new LatLng(39.945, 116.404);LatLng GEO_SHANGHAI = new LatLng(31.227, 121.481);//北京为地图中心,logo在左上角MapStatusUpdate status1 = MapStatusUpdateFactory.newLatLng(GEO_BEIJING);SupportMapFragment map1 = (SupportMapFragment) (getSupportFragmentManager().findFragmentById(R.id.map1));map1.getBaiduMap().setMapStatus(status1);map1.getMapView().setLogoPosition(LogoPosition.logoPostionleftTop);//上海为地图中心MapStatusUpdate status2 = MapStatusUpdateFactory.newLatLng(GEO_SHANGHAI);SupportMapFragment map2 = (SupportMapFragment) (getSupportFragmentManager().findFragmentById(R.id.map2));map2.getBaiduMap().setMapStatus(status2);}
效果如图:
上一篇
下一篇
本篇文章对您是否有帮助?